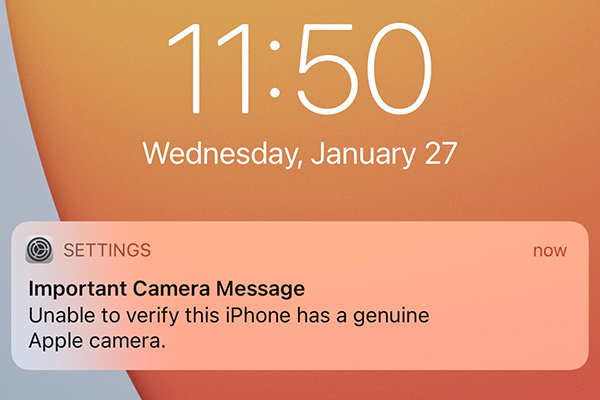
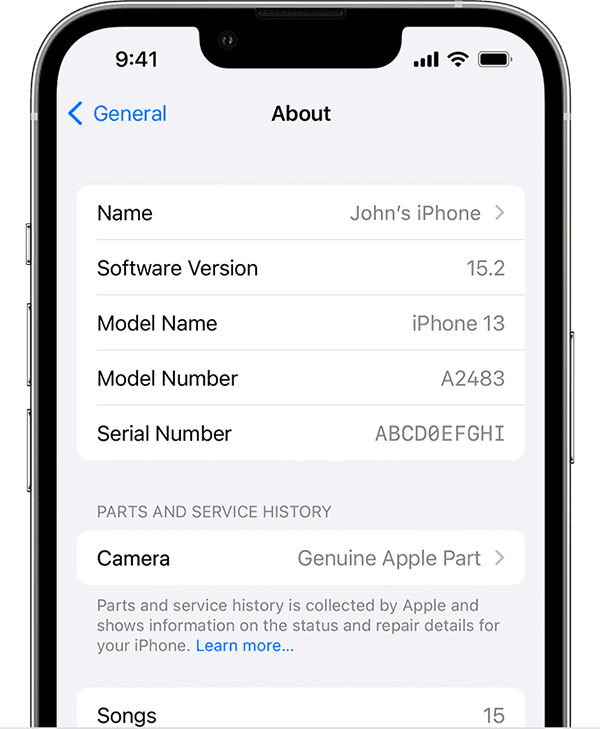
Apple introduced a feature in iOS 14.4 that sends a warning notification when an iPhone 12’s camera can’t be verified as a new, genuine Apple camera. The warning appears on your iPhone’s lock screen for four days, then embeds itself on the first page of your Settings, then is ever-present in the “About” section of Settings.
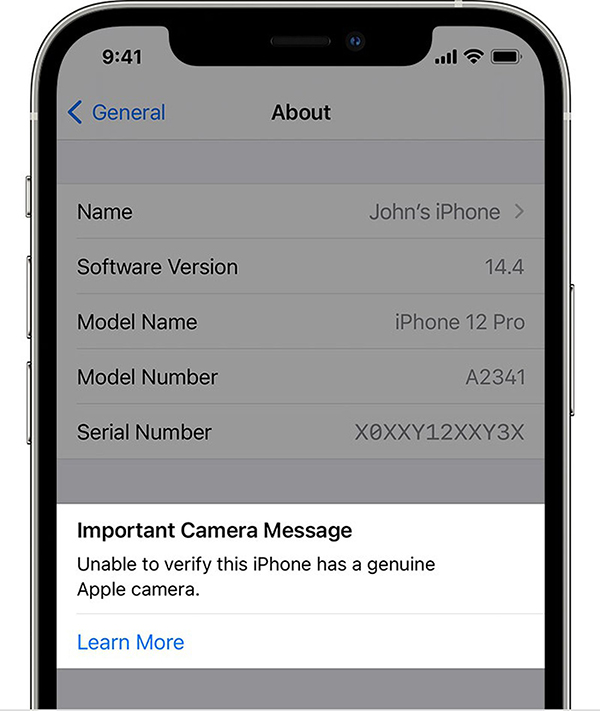
If your iPhone 12 has replaced a new back camera, you must have seen this “Important Camera Message”.
Good news is JC camera repair flex cable can help you solve this trouble. Only need to match with JC V1SE/V1S Pro programmer.
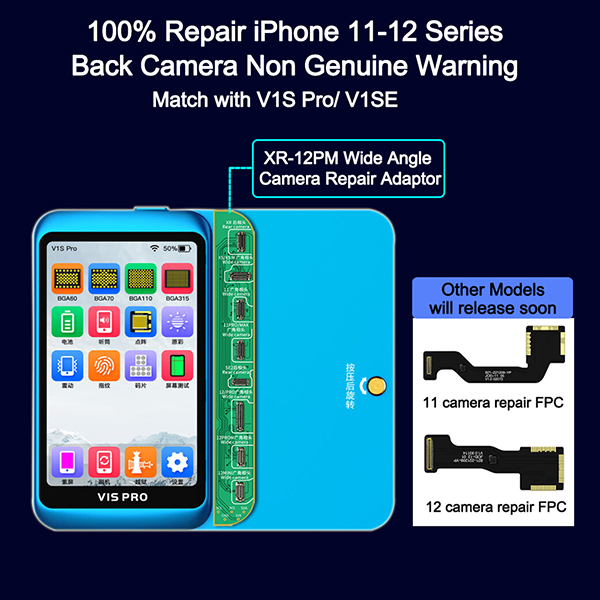
Let’s take V1S Pro as an example, and divided into three different situations. Please refer to our video for details: https://youtu.be/r3ZUm2kye7U
The first case: Has the original rear camera and can read data.
First, Upgrade V1S Pro to the latest version V1.25 and Install XR-12PM Wide angle camera repair adaptor.
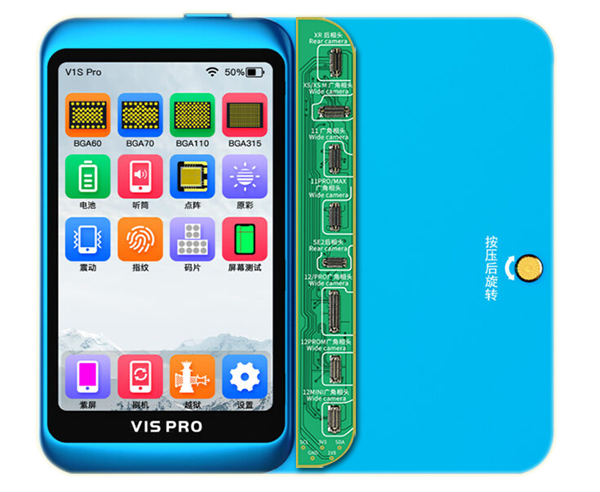
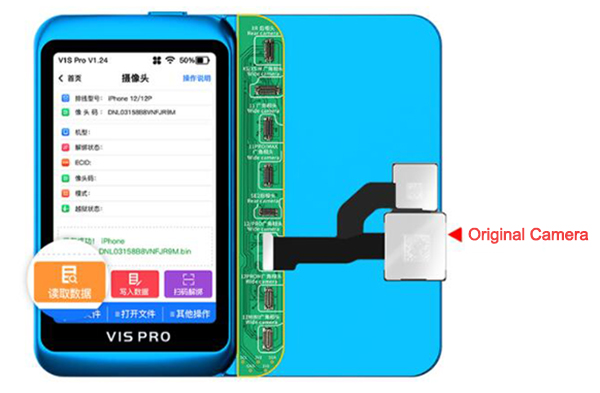
1, Install the original camera on the corresponding seat of the board, read the data and save it locally.
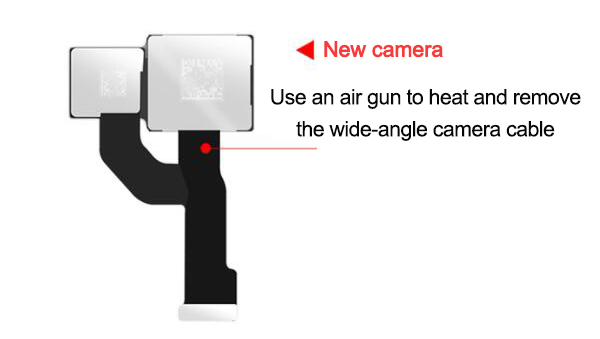
2. Remove the wide-angle camera cable of the new camera.
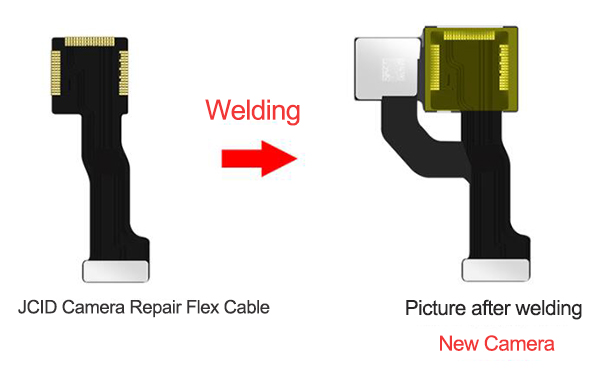
3. Replace the JC camera repair cable to the new camera, and paste the insulating tape.
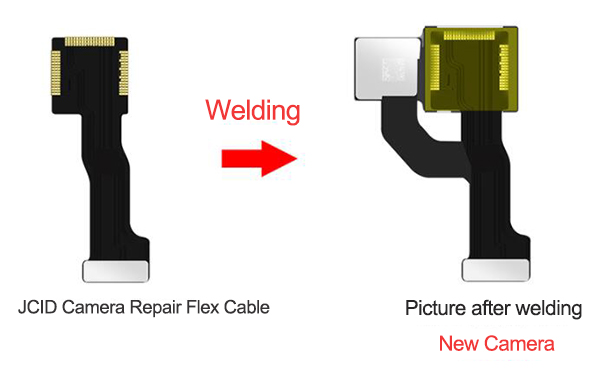
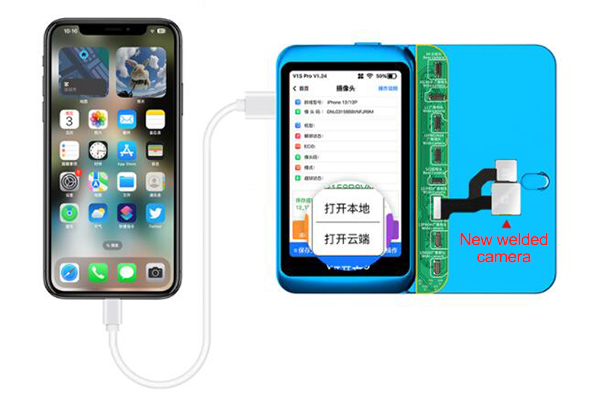
4. Buckle the welded new camera on the corresponding seat of the board to write data. (Note: Please solder the JCID camera repair cable to the new rear camera before writing data)
The operation is: Open the file – Select data – Write data
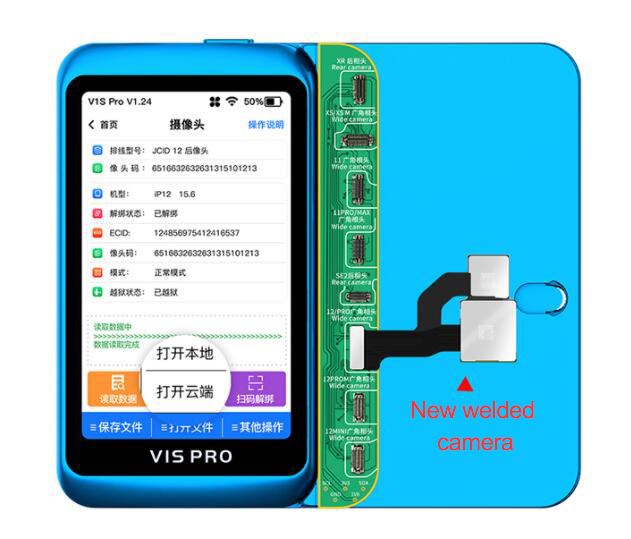
5. Install it to mobile phone for testing, and the prompt disappears.
The second case: Has the original rear camera but can Not read data.
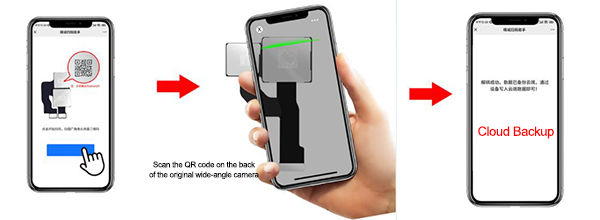
Pay attention: If the original camera can not read data, you need scan the QR code to unbind.
1, Connect the mobile phone that needs to repair the camera to the V1S Pro, click to “scan code to unbind”
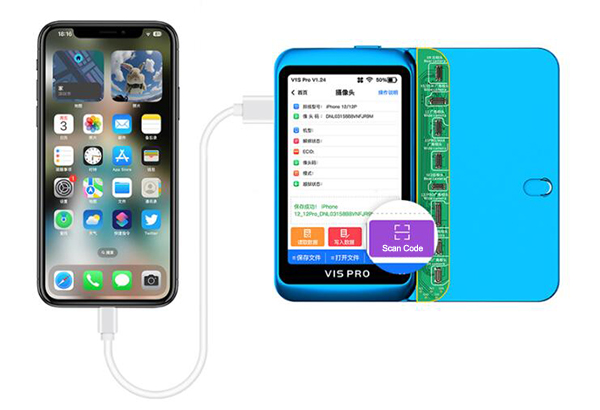
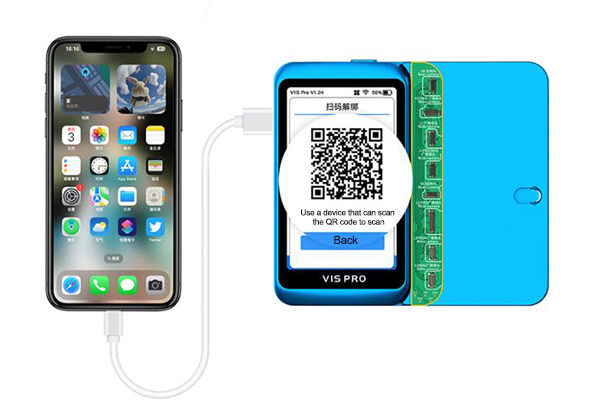
3. Use another mobile phone, open WeChat to scan the QR code, and automatically jump to the unbinding page.
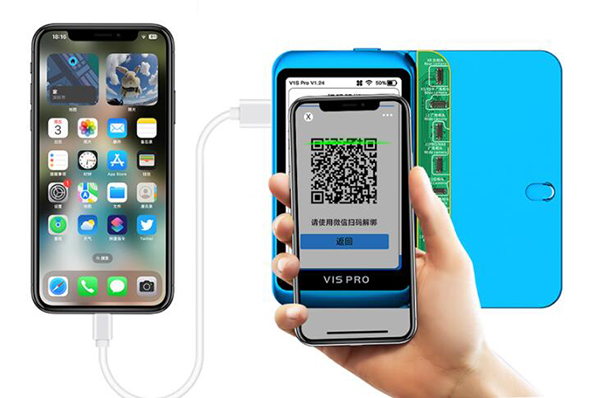
4. Click to start scanning the QR code on the unbind web page, scan the QR code on the back of the wide-angle camera of the original phone, unbind and backup cloud data.
5. Replace the JC camera repair cable to the new camera, and paste the insulating tape.
6. Buckle the welded new camera on the corresponding seat of the board to write data. (Note: Please solder the JCID camera repair cable to the new rear camera before writing data)
The third case: without original camera.
1, You can unbind and backup cloud data by P13 Programmer or J-Box Jailbreak Box.
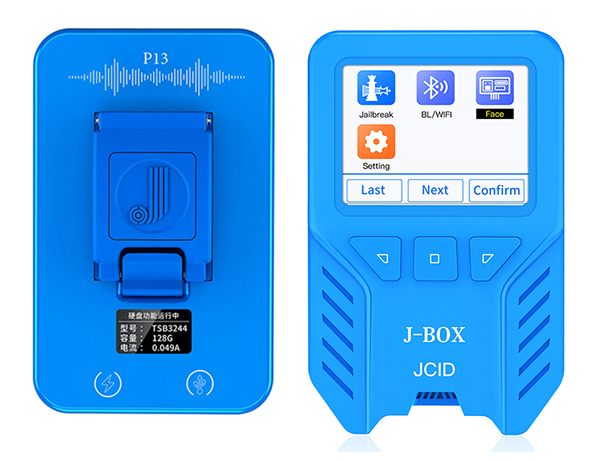
2. Replace the JC camera repair cable to the new camera, and paste the insulating tape.
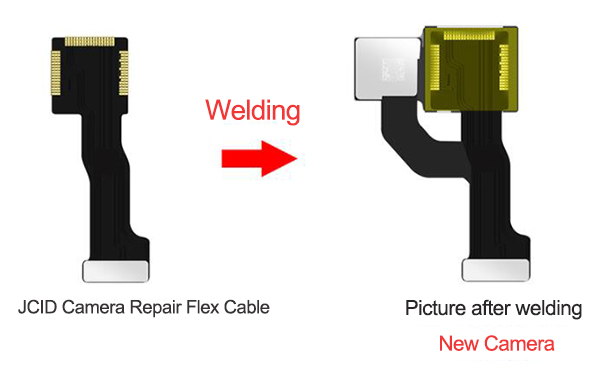
3. Buckle the welded new camera on the corresponding seat of the board to write data. (Note: Please solder the JCID camera repair cable to the new rear camera before writing data)
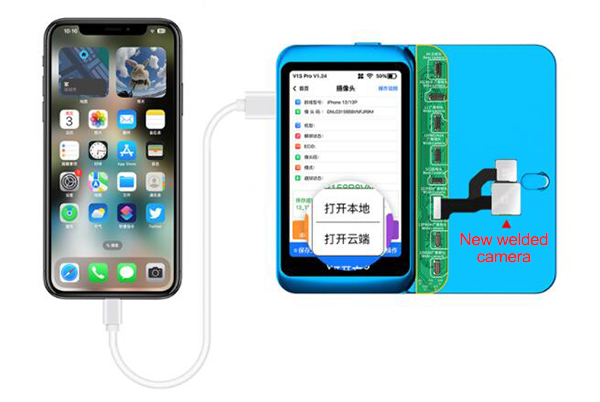
The above is a general introduction to the three methods. For details, you can click the video to watch: https://youtu.be/r3ZUm2kye7U
If you are also interested, or have any questions, please leave us a message: sales@recoresolutions.com
Pingback: JCID Tag-On Rear Camera Repair FPC Solving Pop Up Window Problems Caused by Non-Genuine Rear Camera
Any questions, please let us know.