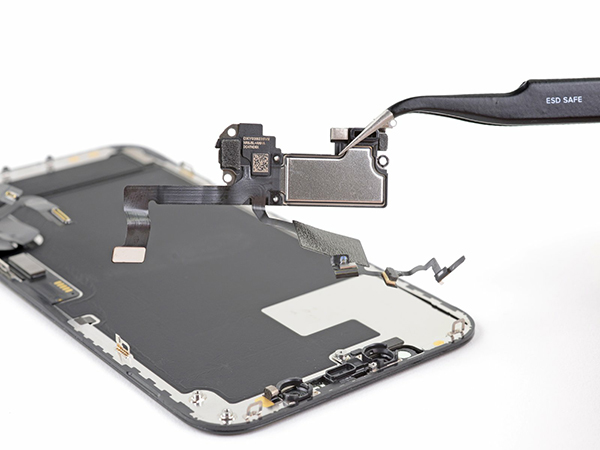
Apple has determined that a very small percentage of iPhone 12 and iPhone 12 Pro devices may
experience sound issues due to a component that might fail on the receiver module. Affected
devices were manufactured between October 2020 and April 2022.
If your iPhone 12 or iPhone 12 Pro does not emit sound from the receiver when you make or receive
calls, it may be eligible for service. Apple or an Apple Authorized Service Provider will service eligible
devices, free of charge.
But if your iPhone 12 is out of warranty or it is inconvenient to send, you can try to repair it yourself.
The following is the specific repair tutorial.
The specific operation process can refer to the video: https://youtu.be/xFCFkTQ8RQw
The tools needed:

1. Multimeter; 2. Tweezers; 3. Flat spatula; 4. Soldering iron;
5. Solder wire; 6. Sealing glue; 7. LCD screen clip.
The operation process is as follows:
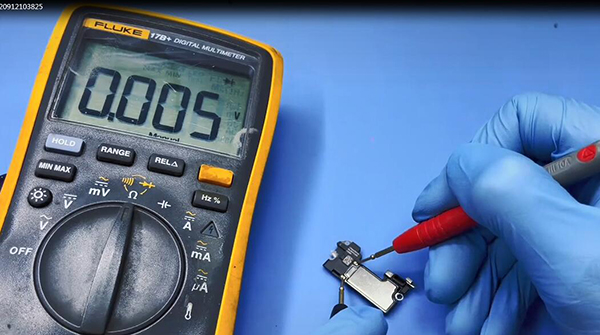
First of all, we need to know that the positive and negative poles of the signal should have an internal
resistance of 4-8 ohms.
1. Disassemble first, shovel off the sealant on the side from the reverse side of the iron shell.
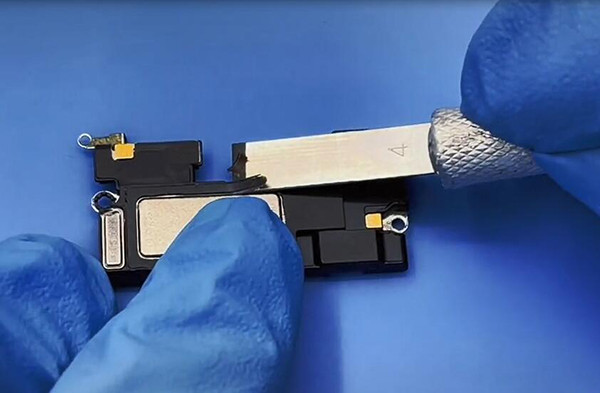
2. Pry open the iron case, you can see the copper coil inside the receiver, move it under the mic-
roscope, you can see that the lead wire at one end of the coil has been broken.
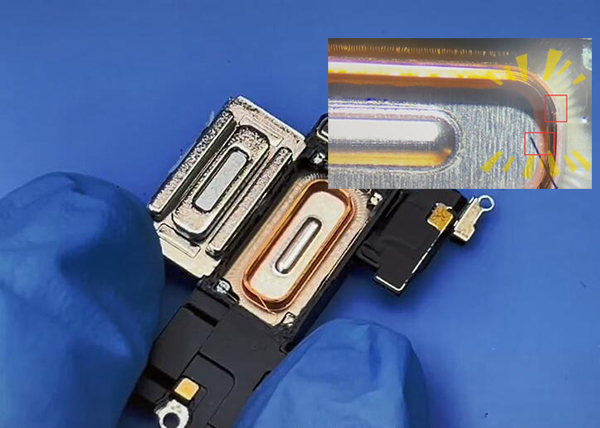
3. Start repairing after finding the problem, 1). Solder the leads at both ends directly;
2). After welding, arrange the leads to the side and cover them back to the iron shell.
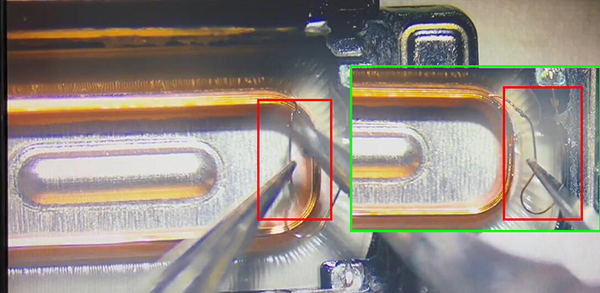
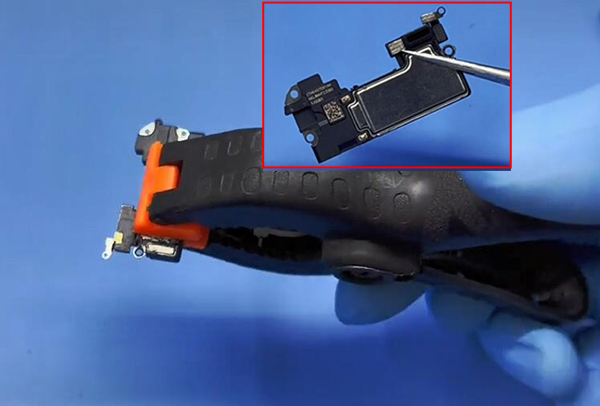
4. Test the internal resistance, return to the normal 5 ohms, put on the sealant, and fix the iron
shell that has been pried open.
5. Hold it with a clip, and when the glue is completely cured, the earpiece is repaired.
This operation process requires professional technology and equipment. If you are also interested,
please leave a message.