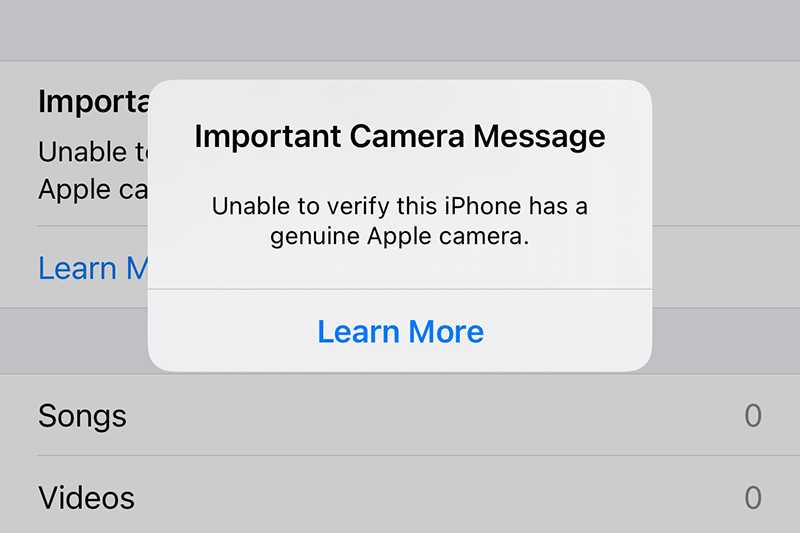
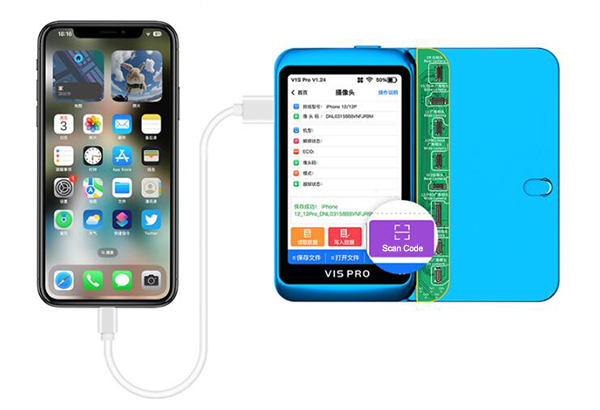
Friends who follow us know that solving the iPhone Pop-up problem is an important topic we have been researching. JCID camera repair flex cable can solve this problem which can be divided tag-on camera flex cable and soldering camera repair flex cable. All those flex cables need to match with JC V1S Pro programmer.
Good news is JC V1SE also has non-removal unbind function, which means it can also solve pop-up window problems. As we all know, JC V1SE is much cheaper than V1S Pro. It’s a joy to spend less money to solve the same problem.

Suitable for iPhone 12-14 series (except iPhone 12 Pro).
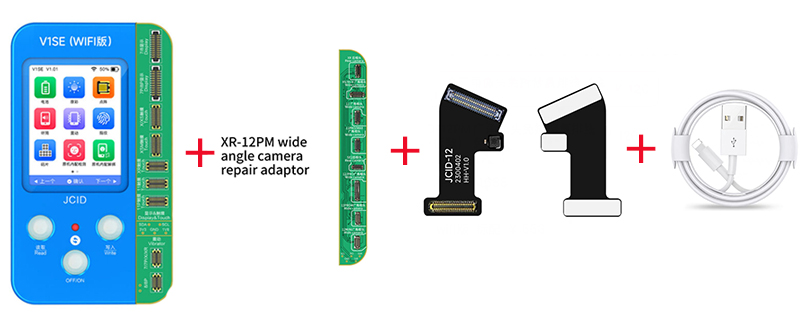
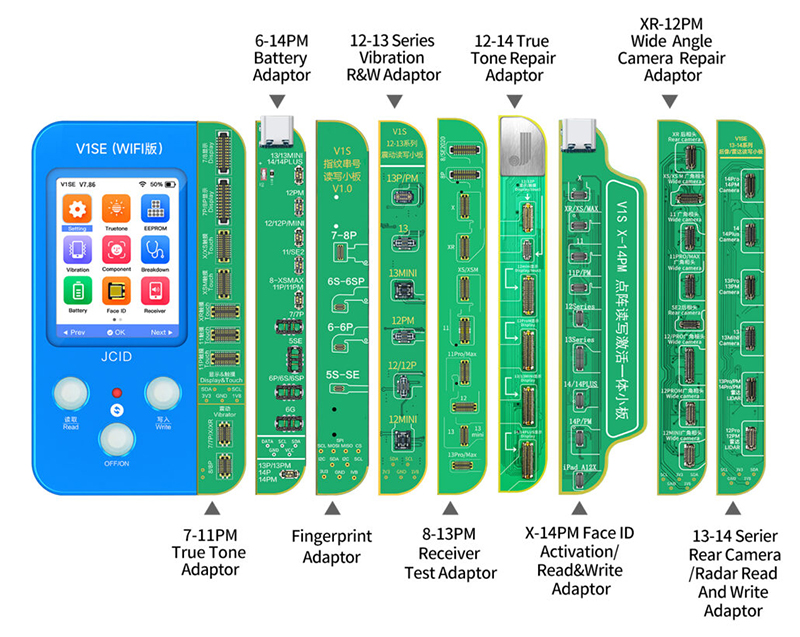
Tools needed: JC V1SE Programmer+ Wide Angle Camera Repair Adaptor + Tag-on Rear Camera Repair FPC+ Data Cable.
The following is the specific operation method (without the original camera), taking the iPhone 12 as an example:
Operation Procedures:
1, Connect the iPhone 12 and JC V1SE with the data cable, unbundle your phone with the Non-Removal Unbind APP.

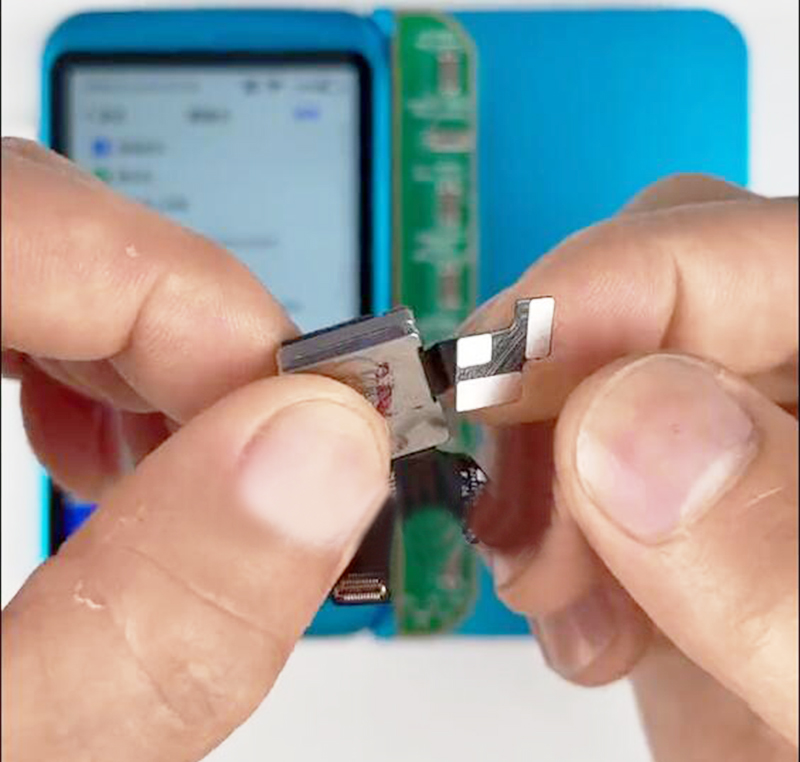
2, Take out the new rear camera and turn on the phone.
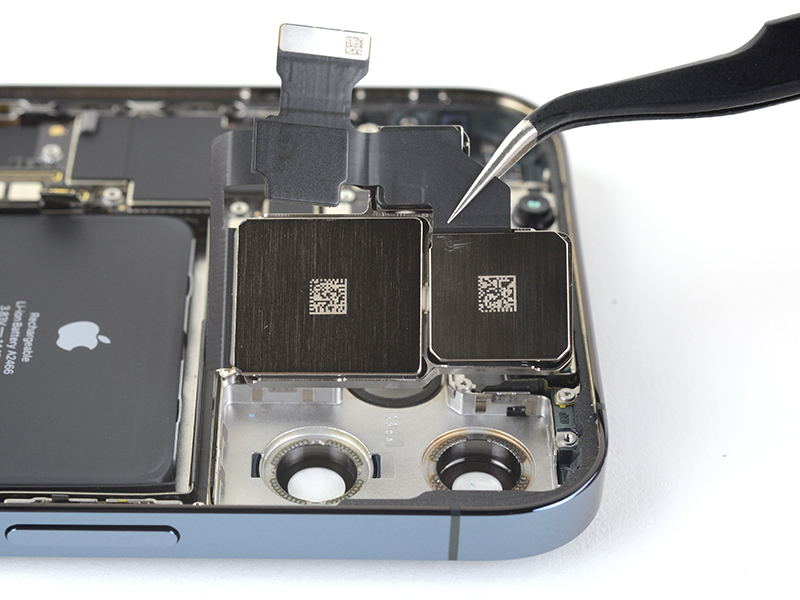
3, Install JC Tag-on camera FPC on the wide-angle camera cable of the New rear camera.
4, Plug Wide Angle Camera Repair Adaptor into the JC V1SE, buckle the installed rear camera on the small board.
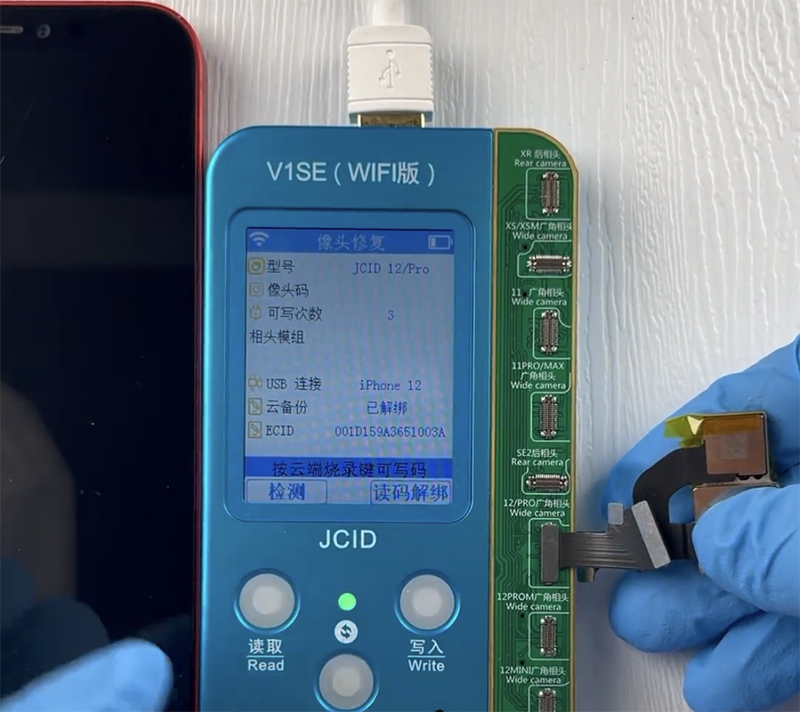
5, After the iPhone is connected to V1SE, Click Cloud Burning.
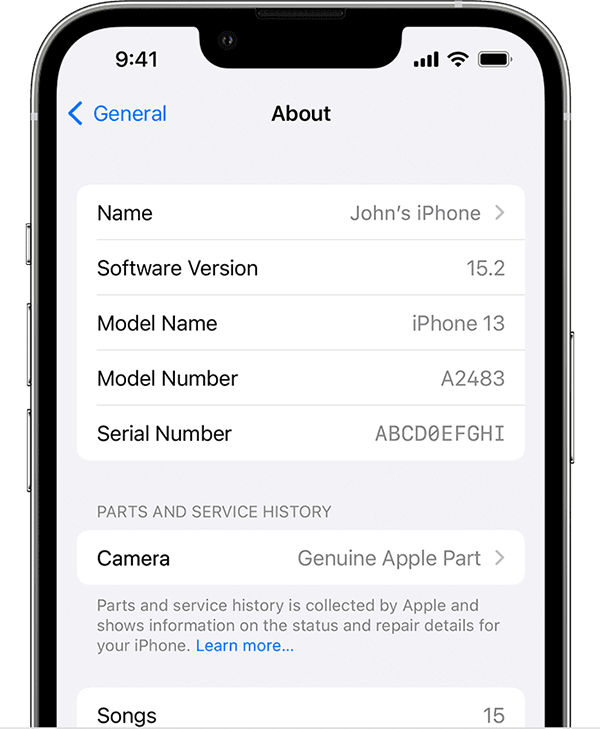
6, Put the camera back to iPhone, test the camera functions, the non-original prompt disappears.
For detailed ways. please refer to our video: https://youtu.be/GD5Q8ddRGl0
The way is similar with JC V1S Pro. If you have not heard of this method and are interested in knowing it, you can click the link below: